Migrating from Tasmota
Migrating from previous Tasmota setups is very easy. You just need to have ESPHome create a binary for you and then upload that in the Tasmota web interface.
Incompatible versions

WARNING! Migrating via OTA on ESP32, from Tasmota v12 (with boot partition) and up is currently not possible! Trying it could soft-brick your device!
Getting the Binary
First create a configuration for your device. Then, generate and download the firmware image:
Using the Home Assistant add-on/dashboard
From the card of your device: open the three dots menu and select Install option.

A new dialog will open. Click on Manual download option.
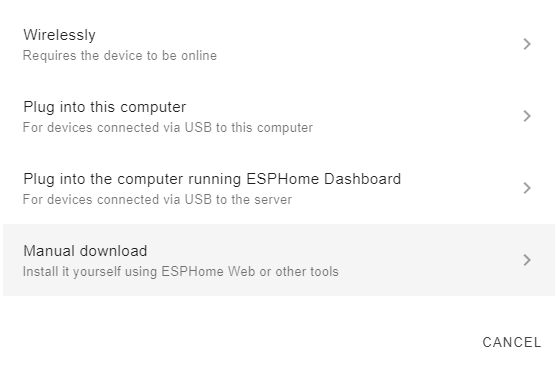
Finally, choose factory format (formerly “modern format”) in the last dialog.

The build process of the firmware will start and the image will be automatically downloaded after its completion.
Using the command line
From your configuration files folder, run
esphome compile <MY_DEVICE>.yamlreplacing <MY_DEVICE>.yaml with your configuration file and navigate to the
<MY_DEVICE>/.pioenvs/<MY_DEVICE>/ folder.
There you will find a firmware.bin file. This is the binary that you will upload.
Uploading the Binary
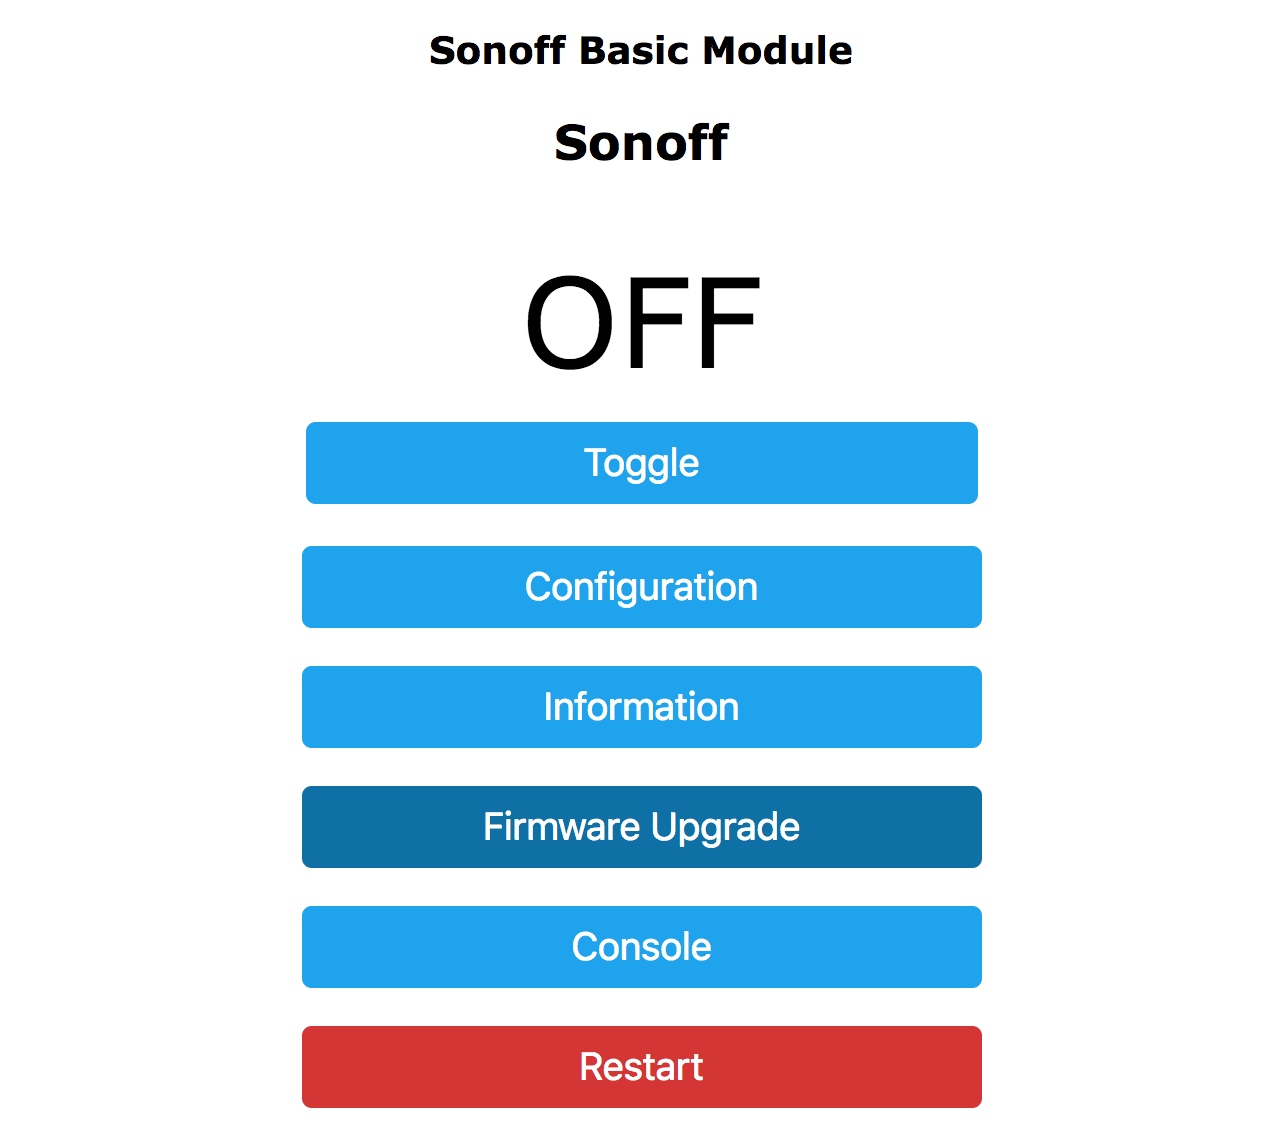
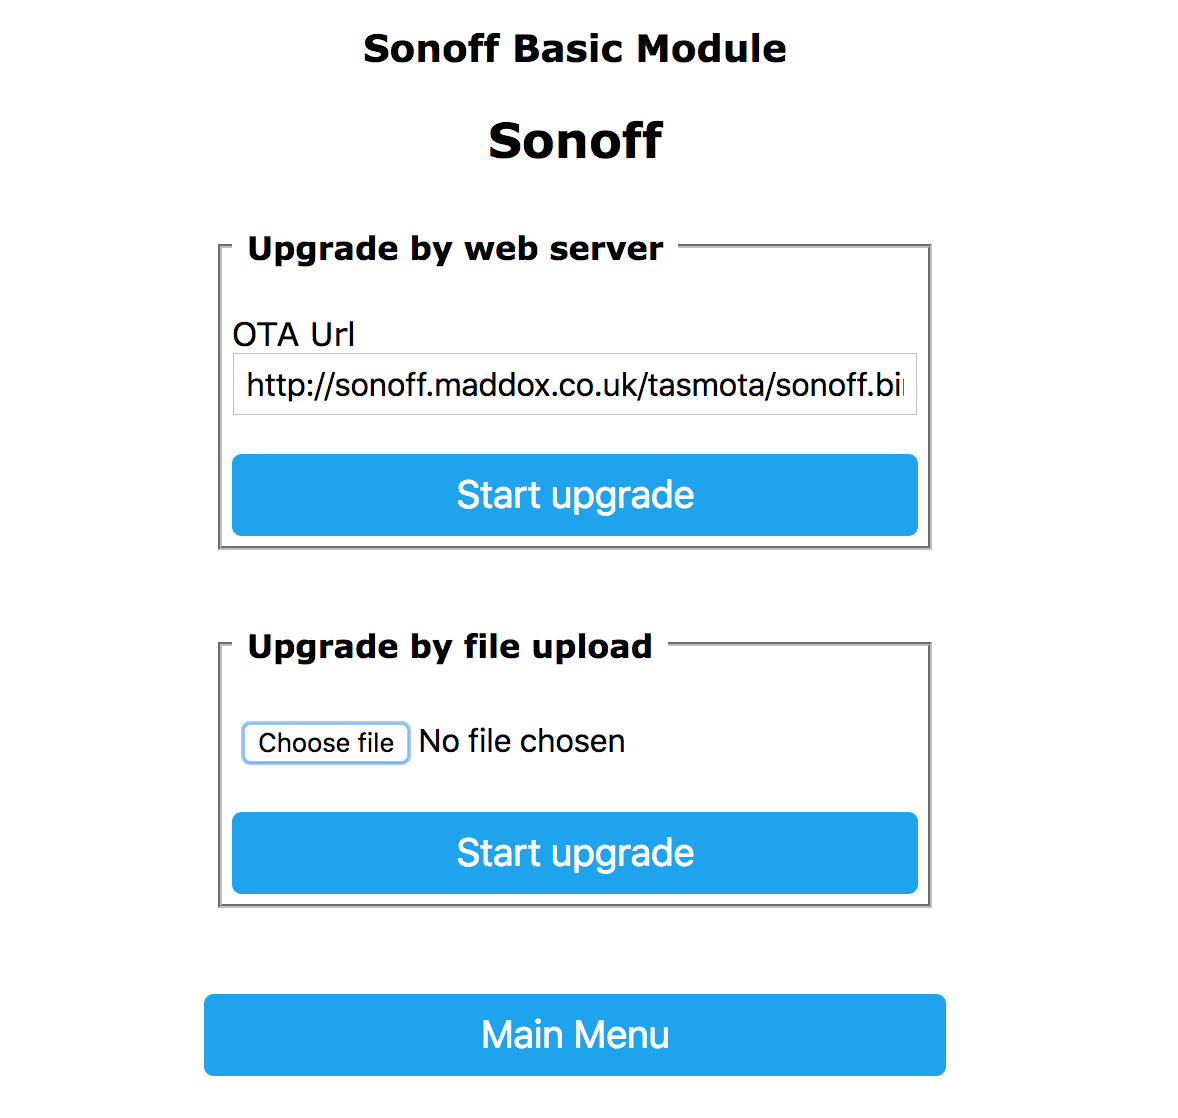
To upload the binary, navigate to the Tasmota web interface and enter the “Firmware Upgrade” section.
In the “Upgrade by file upload” section, choose the binary you previously downloaded
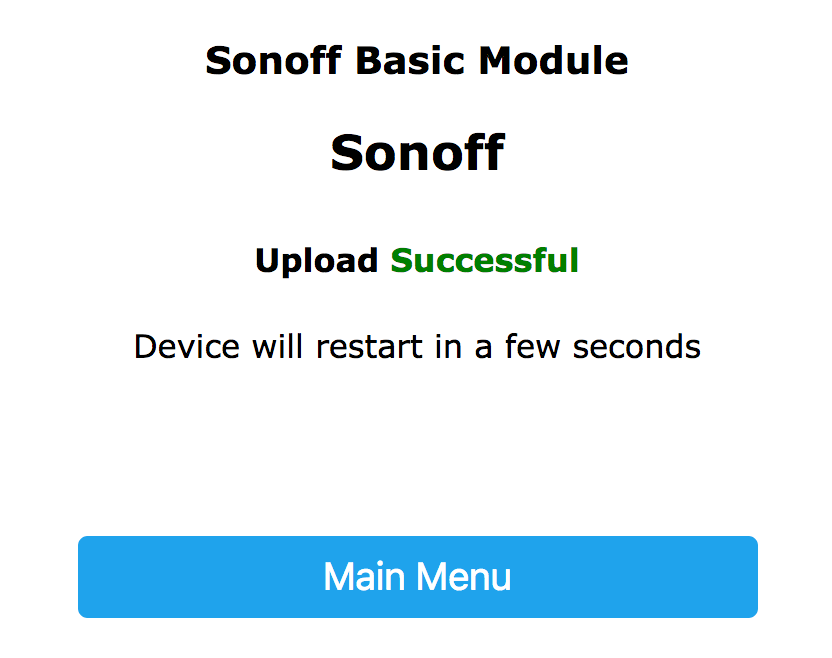
If everything succeeds, you will see an “Upload Successful” message and ESPHome will connect to the WiFi network configured in your .yaml file. 🎉
Happy Hacking!
ℹ️ Note
When using the esp8266_pwm output platform and switching from Tasmota, you need to power-cycle the device once. After that the dimming functionality will work as usual and no more power cycles are required.
About image size and ESP8266
ESP8266 has very limited storage space. Trying to upload a large image will cause the upgrade process to fail.
Tasmota 8.2 introduced upgrading using gzipped binaries which are smaller in size and make the upgrade process easier.
If you are using Tasmota 8.2 or later (recommended) you probably will want to compress the firmware generated from ESPHome with
gzipbefore uploading it.If you are using any version older than 8.2: first upload
tasmota-minimal.binfrom Tasmota repository. Then upload the firmware generated from ESPHome.Alternatively, first upgrade Tasmota to the latest version. Then use the first (gzip, recommended) method.
If you are using Tasmota 7.2+ it may be necessary to run the command
SetOption78 1in the Tasmota console and restart your device to be able to upgrade to esphome.
Automated migration from console
You may also use Tasmota console to invoke the upgrade with just two commands:
OtaUrl http://<MY-ESPHOME:6052>/download.bin?configuration=<MY_DEVICE>.yaml&file=firmware.bin&compressed=1
Upgrade 1
replacing http://<MY-ESPHOME:6052>/ with the host and port of your ESPHome installation and <MY_DEVICE>.yaml
with your device configuration file name.
If you need to use the uncompressed image for any reason, just remove &compressed=1 from the above url.